1 / 5 · Click to enlarge
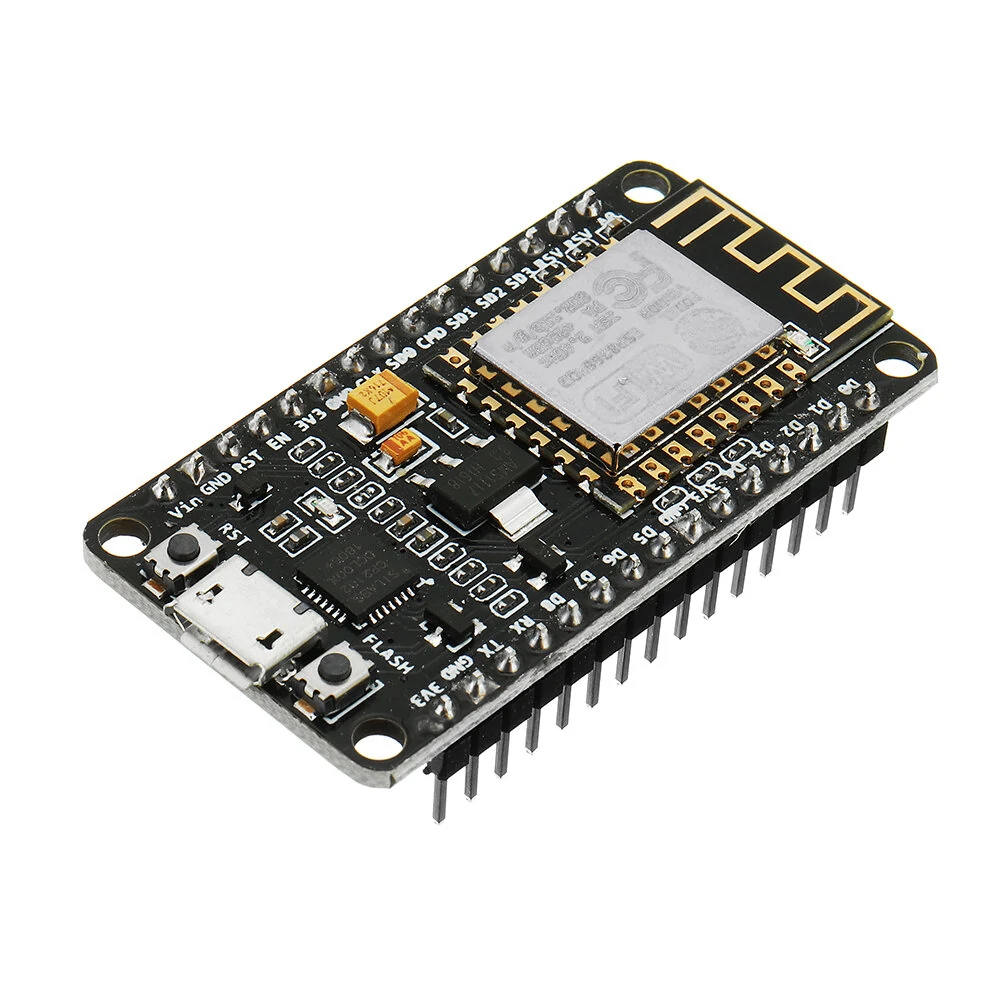
Landa Tianrui LDTR - WG0137 Mainboard Wi-Fi Module ESP8266 Intergrated with 18650 Battery Charging System
The Landa Tianrui LDTR - WG0137 Mainboard Wi-Fi Module ESP8266 Intergrated with 18650 Battery Charging System is a mid-range battery protection module designed for everyday users. It features Material: Plastic , PCB and Product Size: 9.0*2.6*1.5 cm.
Available Offers
Free Delivery on this order. No minimum order value.
15-Day Easy Returns — hassle-free return & full refund.
Secure Payment — 100% safe checkout with UPI, Cards & Net Banking.
Available Offers
5% Cashback
Pay with UPI & get 5% cashback (up to ₹50) via Razorpay
No-Cost EMI
Available on select bank cards at checkout. 0% interest for 3 months.
Free Shipping
Free delivery on all orders. No minimum order value.
Cash on Delivery
COD available on orders up to ₹5,000 across India.
Quick Specs
Ideal For
About This Product
The Landa Tianrui LDTR - WG0137 Mainboard Wi-Fi Module ESP8266 Intergrated with 18650 Battery Charging System is a mid-range battery protection module designed for everyday users. It delivers reliable performance at an accessible price.
Key Specifications
- Material: Plastic , PCB — built to last with a quality finish
- Product Size: 9.0*2.6*1.5 cm
- Product Weight: 38 g
- One Package Weight: 0.06kgs / 0.12lb
- One Package Size: 10cm * 3.6cm * 3cm / 3.94inch * 1.42inch * 1.18inch
- Best Sellers Rank (Consumer Electronics): #8001
- Best Sellers Rank (Consumer Electronics > DIY Parts & Components ): #112
- Best Sellers Rank (Consumer Electronics > DIY Parts & Components > Module): #17
Why Buy from Elecvora?
Elecvora sources this product directly, cutting out multiple middlemen. Every order includes free shipping, a 15-day return policy, and secure payment via Razorpay.
1. This develop board integrates ESP8266 with a 18650 Li-ion battery charging system (the battery is not included). 2. A standard 3000mAH 18650 Li-ion battery can run it for 17 hours. 3. It is easier to develop ESP8266 projects with a power bank. 4. LED indicator inside, clear to see the battery (green means full while red means charging). 5. Convenient to operate with a power switch and a sleep mode connector. 6. Protects your devices from overcharge and over discharge with 0.5A charging current and 1A output. 7. 10 digital pins support many functions: write / read / interrupt / PWM / I2C (except D0). 8. Note: If you put the wrong direction of battery, the charging chip will be destroyed.