Free Delivery  ·  COD Available  ·  15-Day Returns
Elecvora
Waveshare Compute Module IO Board Plus for Raspberry Pi CM3 / CM3L / CM3+ / CM3+L — image 1
Hover to zoom

1 / 6 · Click to enlarge

Waveshare Compute Module IO Board Plus for Raspberry Pi CM3 / CM3L / CM3+ / CM3+L

Phone Model
AI Summary
Battery Protection Module for premium buyers

The Waveshare Compute Module IO Board Plus for Raspberry Pi CM3 / CM3L / CM3+ / CM3+L is a premium battery protection module designed for premium buyers. It features One Package Weight: 0.18kgs / 0.41lb and One Package Size: 16cm * 10cm * 4cm / 6.3inch * 3.94inch * 1.57inch.

₹7,928
Free Shipping💵 COD Available

Available Offers

Free Delivery on this order. No minimum order value.

15-Day Easy Returns — hassle-free return & full refund.

Secure Payment — 100% safe checkout with UPI, Cards & Net Banking.

Total: ₹7,928
Buying tip: A quality investment for dependable performance and premium build quality.
Estimated delivery: 24 Aug7 Sept
Free Shipping
Pan India delivery
15-Day Returns
Hassle-free policy
Secure Payment
Razorpay protected
Quality Assured
Vetted products only

Available Offers

💳

5% Cashback

Pay with UPI & get 5% cashback (up to ₹50) via Razorpay

🏦

No-Cost EMI

Available on select bank cards at checkout. 0% interest for 3 months.

📦

Free Shipping

Free delivery on all orders. No minimum order value.

💵

Cash on Delivery

COD available on orders up to ₹5,000 across India.

Quick Specs

One Package Weight: 0.18kgs / 0.41lb
One Package Size: 16cm * 10cm * 4cm / 6.3inch * 3.94inch * 1.57inch
Best Sellers Rank (Consumer Electronics): #8137
Best Sellers Rank (Consumer Electronics > Arduino & SCM Supplies): #212
Best Sellers Rank (Consumer Electronics > Arduino & SCM Supplies > LCD & LED Display Module): #54

Ideal For

Electronics projectsArduino / Raspberry Pi buildsPrototyping
Share:
SKU: S-ZY14058780Category: Battery Protection Module

About This Product

The Waveshare Compute Module IO Board Plus for Raspberry Pi CM3 / CM3L / CM3+ / CM3+L is a premium battery protection module designed for premium buyers. It delivers reliable performance at an accessible price.

Key Specifications

  • One Package Weight: 0.18kgs / 0.41lb
  • One Package Size: 16cm * 10cm * 4cm / 6.3inch * 3.94inch * 1.57inch
  • Best Sellers Rank (Consumer Electronics): #8137
  • Best Sellers Rank (Consumer Electronics > Arduino & SCM Supplies): #212
  • Best Sellers Rank (Consumer Electronics > Arduino & SCM Supplies > LCD & LED Display Module): #54 — crisp, vibrant visuals in any lighting

Why Buy from Elecvora?

Elecvora sources this product directly, cutting out multiple middlemen. Every order includes free shipping, a 15-day return policy, and secure payment via Razorpay.
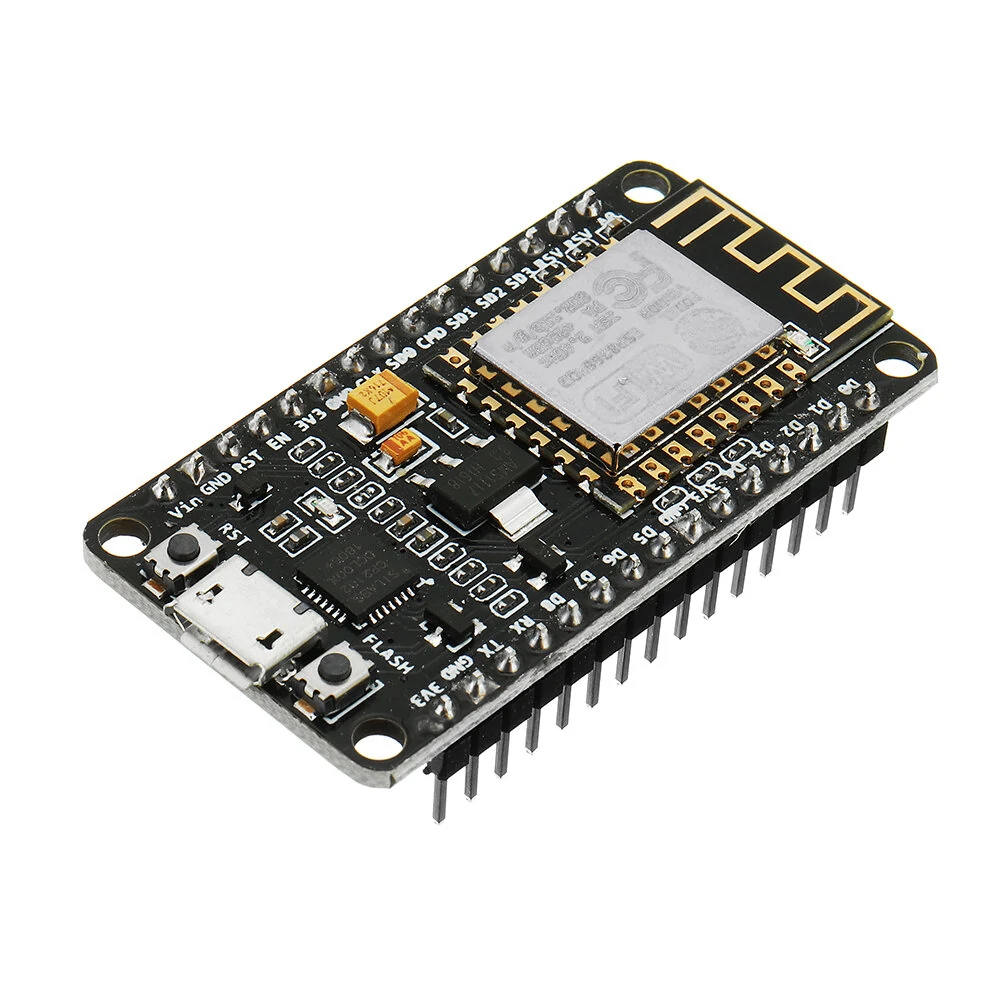
Overview The Compute Module IO Board Plus is a development board which you can plug a Raspberry Pi Compute Module into, and make use of the resources of Pi more flexibly. It is compatible with the Compute Module IO Board V3 from the Raspberry Pi Foundation, along with various common use components. Compute Module IO Board Plus Features 1. Compatible with the Compute Module IO Board V3 from the Raspberry Pi Foundation 2. Raspberry Pi GPIO header, for connecting sorts of Raspberry Pi HATs 3. Arduino connectivity, also supports Arduino shields 4. 1-WIRE interface, for connecting single-bus devices like DS18B20 5. 4x keys, 4x LEDs, 1x Buzzer, for I/O testing 6. Onboard USB HUB, allows connecting more USB devices 7. IR receiver, IR remote control is available 8. Onboard USB TO UART, for serial debugging 9. Sensor interface 10. 10-bit ADC, 38KSPS, 11-ch (6-ch for Arduino interface, 5-ch for sensors) 11. 16-bit DAC, 2-ch 12. Onboard RTC, one of the most common and useful functions What is on the Compute Module IO Board Plus 1. Compute Module interface: for connecting Compute Module (CM3 / CM3L / CM3+ / CM3+L) 2. Compute Module GPIO header: breakout all the Compute Module pins 3. Raspberry Pi GPIO header: for connecting Raspberry Pi HATs 4. CSI interface: camera ports, for connecting Raspberry Pi Camera 5. DSI interface: display ports, for connecting Raspberry Pi LCD 6. HDMI port 7. USB ports: for connecting USB devices 8. USB SLAVE interface: allows you to burn system image in to Compute Module 3 9. USB TO UART interface: for serial debugging 10. Arduino header: for connecting Arduino shields 11. AD/DA input/output screw terminals 12. 1-WIRE interface: for connecting single-bus devices like DS18B20 13. Sensor interface 14. Power port: 5V 2.5A 15. FE1.1S: USB HUB chip 16. 12MHz crystal 17. CP2102: USB TO UART converter 18. Micro SD card slot: Insert a Micro SD card with pre-burnt system, to start up Compute Module 3 Lite 19. TLC1543: AD converter 20. DAC8552: 16-bit DAC, 2-ch 21. DS3231: High-precision RTC chip, I2C interface 22. RTC battery holder: supports CR1220 batteries 23. Voltage regulator: 3.3V / 2.5V / 1.8V 24. LFN0038K: IR receiver 25. Buzzer 26. Power indicator 27. ACT indicator: indicating the Micro SD card status 28. User LEDs 29. User Keys 30. BOOT selection - EN: enable the PC to access SD card/eMMC through USB SLAVE - DIS: the Compute Module will boot from SD card/eMMC 31. VGx power selection: config the I/O level 32. USB HUB enable jumper: HUB enable and USB SLAVE power selection 33. ADC/DAC configuration: config the power supply and reference voltage of ADC/DAC 34. Peripheral configuration: config the control pins of UART, user keys, user LEDs, 1-WIRE interface, IR receiver, and buzzer 35. Arduino AD selection - Connect 1 and 2: Arduino A0-A5 as digital control pin - Connect 2 and 3: Arduino A0-A5 as AD input

Setup Guide

1
Identify the pins
Locate VCC (power), GND (ground), and data pins (SDA/SCL for I2C, MOSI/MISO for SPI, or TX/RX for UART). Refer to the pinout diagram on the product page.
2
Wire to your microcontroller
Connect VCC to 3.3V or 5V (check the module spec), GND to GND, and data pins to the appropriate GPIO pins on your Arduino or Raspberry Pi.
3
Install libraries
In Arduino IDE, go to Sketch → Include Library → Manage Libraries and search for the sensor library. Install the recommended version.
4
Upload example sketch
Open File → Examples → [library name] → Basic Example. Upload to your board and open Serial Monitor to view output.
5
Calibrate if needed
Some sensors (temperature, humidity, distance) may need a short warm-up period or calibration. Run the calibration sketch if provided.